
From Fender Benders to Full Restorations: Your Guide to Auto Body and Collision Repair
A good collision repair feels like a magic trick. One week you are staring at a crumpled fender and a spidered headlamp, the next you pull the car from the bay and it tracks straight, the gaps are even, and the paint lays out smooth with the right gloss and depth. There is no magic, of course. Just a disciplined process, the right equipment, and techs who know when to lean on factory procedures and when to rely on hard-won judgment. If you are trying to decide how to handle damage after a mishap, understanding what happens inside a collision repair center can save you money, time, and a lot of hassle.
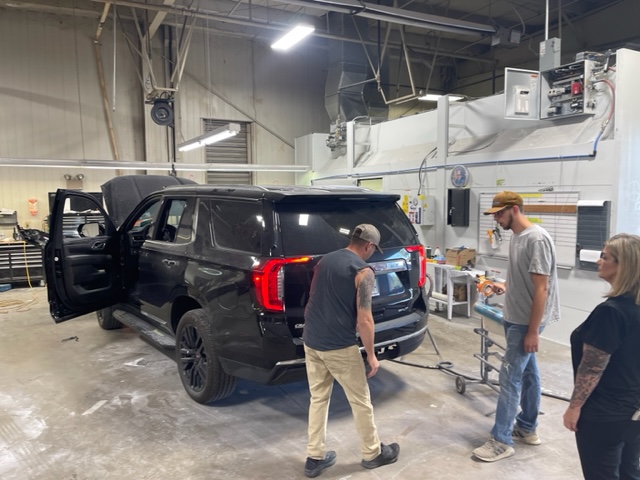
First things first: safety and documentation
When a car lands in my bay after an accident, I look for safety issues before anything else. A radiator hose pushed into the fan can turn a ten-minute move into an overheated engine. A bent suspension arm can cause a wheel to fold under braking. Airbags that have deployed may have damaged the dash structure or wiring harness, and seatbelt pre-tensioners often lock up and require replacement. I’ve seen owners drive in after a low-speed parking lot kiss and assume it is purely cosmetic, only to find a kink at the front frame rail tip that compromises crash energy absorption.
Before a panel is pulled, take photos. Lots of them. Insurance adjusters and subrogation teams love clear timelines, and so do you when a supplement is needed later. Record VIN, mileage, and any pre-existing wear. If there is drivability concern, scan it pre-repair. Today’s vehicles store collision-related events, and a pre-scan helps separate old faults from new ones. Most reputable auto body and collision shops now build this into intake, partly because insurers request it and partly because it protects everyone.
What counts as “repairable”?
Not every dent deserves a claim, and not every wrecked car should be repaired. The threshold usually comes down to three factors: structural integrity, parts availability, and economics.
Light cosmetic damage, like a shallow door ding with intact paint, can often be handled with paintless dent repair. It takes a trained touch with steel rods and glue tabs, but the results are fast and excellent when the metal is not stretched. That same door dent with cracked paint, sharp creases, or near an edge often pushes you into traditional filler and paint, which adds materials and labor.
Structural hits get more involved. A dogleg pushed in by a side swipe can be re-pulled on a frame machine if the metal has not torn and the inner structure remains sound. If the rail is kinked or the crush zone has collapsed beyond straightening limits, you are into sectioning or full replacement. This is where OEM repair procedures matter. A proper car collision repair follows model-specific guidelines: weld location, material type, and whether a part may be straightened at all. Some ultra-high-strength steel components are one-time use. Heat them and you risk losing the designed crash performance. I have turned jobs away when a customer insisted on a heat-and-pull fix on parts the manufacturer designates as replace-only. A reputable collision repair center will do the same.
The economics are not moral judgments. If the cost of parts and labor approaches a percentage of actual cash value that the insurer flags, you will be nudged toward a total loss. On older vehicles, a lack of parts can force that decision. On newer ones, the cost of radar sensors, headlights with adaptive functionality, and aluminum panel work can tip the scale.
Anatomy of an estimate
A good estimate is a living document. It starts with visible damage, then grows as teardown exposes hidden issues. A typical estimate will include sections for labor hours broken down by body, paint, mechanical, and frame, plus line items for parts, materials, and sublet work such as alignments or glass. Software like CCC or Mitchell standardizes the format, but the content reflects the shop’s approach.
I lean on storyboards. For example: front-end collision, 20 to 25 mph, bumper cover cracked, grille shattered, hood buckled at the front hem flange, condenser and radiator crowded but holding pressure, headlights internal mounts broken, driver’s side frame horn compressed 8 mm based on datum measurements. That tells me I’ll need a rack setup, a pull to spec, and likely a radiator and condenser once pressure testing confirms leaks or bent cores. It also hints at ADAS work, because many modern cars embed radar in the bumper and cameras behind the windshield.
Expect supplements. Once the bumper and lamps are off, broken tabs and bent brackets will surface. A legitimate auto body and collision repair plan explains this from the start, so you are not blindsided.
OEM procedures, adhesives, and the changing material mix
Two decades ago we welded nearly everything. Today’s mix is different. Automakers use aluminum, magnesium, ultra-high-strength steel, and composites to save weight and manage crash forces. Each brings quirks.
Aluminum panels demand clean tooling and dedicated stations to avoid cross-contamination, which can cause galvanic corrosion. Repairs often involve rivet-bonding with structural adhesives, and even the adhesive cure schedule affects strength. Adhesive bonding is not a shortcut, it is a precise method when the OEM calls for it. On high-strength steel, heat is the enemy. Many OEMs forbid sectioning at certain zones. You might replace an entire rail rather than slice and cap at a convenient spot. It is slower and costlier but preserves crash performance.
Adhesives show up in places owners never see. Door hem flanges, roof bows, and quarter panel bonding reduce weld count and distribute stress. A tech who ignores bead length, gun tip size, and squeeze-out parameters can leave you with rattles or water leaks. Good shops document adhesive lot numbers and follow cure times. It is unglamorous, and it matters.
The paint process: color, texture, and environment
Paint is often judged on gloss and color match. Those are only two variables. To get them right, the shop must manage substrate prep, sealer color, basecoat translucency, metallic flake orientation, clearcoat chemistry, and booth environment.
Color match begins with paint code and variant selection, then an actual spray-out card on the same primer shade and gun setup used on the car. Many colors require blending into adjacent panels, not because painters want to add hours, but because modern pearls and tri-coats change appearance with film thickness and viewing angle. Skip the blend on a three-stage white and you might see a perfect match head-on that turns grayish at an angle.
Texture counts just as much. Factory orange peel is not a flaw, it is a characteristic. A panel polished to mirror finish next to an untouched factory panel looks wrong. We tune air pressure, reducer temperature, and gun distance to mimic OEM texture. I’ll sometimes dial in a tiny bit more peel on a hood to match a particular make, then lightly de-nib rather than cut the texture flat.
Dust and overspray control matter. A real booth with heated bake, filtered intake, and proper exhaust keeps contaminants out and speeds cure. Shops that spray in open bays often chase nibs and end up over-polishing, which thins clear and shortens longevity. If you are evaluating auto repair for collisions an auto body and collision shop, ask to see their booth and mixing room. Cleanliness correlates with auto body repair quality.
ADAS, calibrations, and why a straight car can still be wrong
Modern cars steer, brake, and warn based on sensors. A front radar sitting 3 degrees off or a camera that sits 4 mm higher than spec can turn an emergency brake event into a near-miss. After repairs that touch bumpers, grilles, windshields, or suspension, an ADAS calibration is not optional.
There are two families of procedures: static and dynamic. Static calibration happens in the shop with targets placed at specific distances and heights, the floor leveled, and tire pressures set. Dynamic calibration requires road tests on defined routes at certain speeds to let the system learn. Some vehicles need both. If your collision repair center sublets this to a specialty provider, that is fine. What matters is that it gets documented with before-and-after scans and calibration confirmations tied to the VIN.
I have seen do-it-yourself bumper replacements where the radar bracket is slightly bent. The car drives fine until the owner notices random forward collision warnings in light rain. The bracket was off by a few millimeters, enough to skew the radar beam. A proper repair would have included a radar aiming procedure and bracket measurement to spec.
When cost-cutting helps, and when it hurts
Not every job demands a brand-new OEM part. The trick is knowing when alternatives make sense.
Recycled parts, often called LKQ (like kind and quality), can be smart for bolt-on items like doors, hoods, and trunk lids, especially on older vehicles. You get an OEM panel with factory metal and fit, then refinish as needed. Aftermarket parts vary wildly. Some bumper covers fit well, others require heavy massaging. A reputable shop will pre-fit, document issues, and recommend OEM where fit or sensor integration is sensitive.
Refurbished lamps save hundreds but can bring condensation or poor beam pattern. Calibrations for adaptive headlights complicate things further. With crash parts tied to safety systems, I weigh long-term reliability against up-front savings. If an aftermarket bumper houses a radar behind a different plastic resin, it may distort the signal. In that case, OEM is the only defensible choice.
Paint materials are not the place to pinch pennies. A high-solids clear from a tier-one brand resists UV and chemicals better than bargain options. Over ten years, the difference shows. For customers planning to keep a car long-term, I steer them to better materials and explain why.
The repair roadmap, from drop-off to delivery
The typical flow for auto collision repair looks steady on paper, but every car brings surprises. Here is the sequence I walk through with customers so expectations match reality.
- Intake and documentation: photos, pre-scan, initial estimate, insurance authorization, and parts ordering.
- Disassembly and supplement: remove damaged panels, inspect structure, re-measure, update estimate, finalize parts list.
- Structural and mechanical: rack setup if needed, pulls to spec, measure again, cooling and AC checks, suspension and steering components replaced, alignment pre-check.
- Body and prep: panel replacement or repair, seam sealing, primer, block sanding, test-fit lamps and trims.
- Paint, reassembly, and calibrations: spray sealer, base, clear, bake, de-nib, reassemble, perform post-scan, ADAS calibration, alignment, wash, and quality control road test.
That is the first of two lists you will see here because it clarifies a sequence better than paragraphs can. At each stage, I pause for inspections. A missed seam sealer bead today becomes a wet trunk in six months. A hood that sits proud at the corner needs hinge adjustment now, not after ceramic coatings and delivery photos.
Insurance, DRPs, and your choices
Direct Repair Programs, or DRPs, are agreements between insurers and certain shops. They can streamline approvals and speed up payment. That does not mean you are required to use a DRP shop. You own the car, you choose the collision repair center. The insurer can recommend, not mandate.
DRP shops often have strong process control and reporting. Non-DRP shops can match or exceed that, especially specialists who focus on particular makes. What matters more is whether the shop follows OEM procedures, invests in training and tools, and communicates clearly. Ask how they handle supplements, whether they perform pre and post scans, and whether they can manage ADAS calibrations in-house or through a vetted partner.
Beware of shops that promise exact delivery dates before teardown. Parts delays, especially for newer model years, are common. A transparent timeline with ranges, plus updates, beats a confident guess every time.
Frame machines, measuring systems, and why millimeters matter
A frame machine is not just a big table with chains. Paired with a computerized measuring system, it allows techs to pull in multiple directions and verify against factory dimensions. We measure three ways: height, width, and length from known datum points. If the front rail tip sits 6 mm low and 4 mm inboard, we plan a diagonal pull to bring it back up and out. Metal has memory. Pull too fast and it will rebound. Pull with heat on the wrong steel and you hurt it. The art lies in tensioning, pausing, and checking, using clamps on undamaged reference points so you are not anchoring to bent structure.
Uni-body vehicles spread loads across the floor, pillars, and rails. A hit that looks confined to the front can twist the cowl, which changes door aperture shape. That is why we do a door fit check early. If the driver’s door takes extra force to latch after a front hit, the body has likely shifted. You can pull the front rail to the correct spec and still have a binding door unless you correct the twist.
Rust, water leaks, and the slow problems that show up later
Fast repairs that ignore corrosion protection trade today’s shine for tomorrow’s headache. Exposed welds need epoxy primer, cavity wax, and sometimes stone guard. Seam sealer is not caulk from the home center. It is a specific product applied at specified thickness. On rocker repairs, I use wands to fog cavity wax inside box sections, especially where road salt is common. I have opened up quarter panels five years after sketchy repairs and found bare metal surface rust creeping along a flange. Spend the extra hour now, avoid a festering edge later.
Water finds poor repairs. Tail lamp pockets, sunroof drains, and the cowl area love to leak after collisions. Before delivery, we water test. Not a quick splash, a controlled hose test at volume for several minutes. If a cabin fills with condensation a week later, you pay twice, once in the redo, once in your reputation.

When full restorations make sense
Full restorations live at the far end of the spectrum. They are not just about collision recovery. Think of a classic that took a hit decades ago, then accumulated rust, bad filler, and mismatched panels. A restoration cuts back to clean substrate, replaces whole sections, and rebuilds with long-term integrity in mind. The process is slower and more deliberate, often with media blasting, epoxy priming, panel fabrication, and block sanding that takes weeks. It is deeply satisfying, but it is not the right path for every car. I counsel owners to consider parts availability, future value, and emotional attachment. If the car is a daily driver with 180,000 miles and a salvage title, a tasteful, safe repair may be smarter than chasing concours perfection.
Electric vehicles change the game
EVs introduce high-voltage safety and battery diagnostics into the collision conversation. A seemingly minor rear impact can jolt a battery pack. Some manufacturers require pack inspections or isolation tests after any significant hit. Shops must use insulated tools, lockout procedures, and sometimes temperature monitoring for packs after repair. Aluminum-intensive bodies are more common on EVs, which adds the need for segregated workspaces to avoid cross-contamination.
ADAS is usually even more central in EVs, and calibrations can be model-specific to the point of requiring factory software subscriptions and dedicated targets. If you drive an EV, verify that your chosen auto body and collision repair provider holds the right training and equipment. The wrong move on a high-voltage line can be dangerous. The right move keeps everyone safe and the warranty intact.
Communication keeps projects on track
Delays happen. A bumper cover on backorder, a wrong sensor variance, a glass shop reschedule. The difference between a good and a bad experience often comes down to communication. My rule is simple: update twice a week even if nothing changes, and immediately when something does. Share photos at key milestones. To a customer, “it is in paint” is abstract. A quick photo of the masked car in the booth tells the story.
When I see a project wobble, it usually traces to a gap in clarity. The customer assumed a loaner would be available. The insurer expected aftermarket parts. The shop thought the customer understood that a three-stage color requires blending two adjacent panels. Put it in writing early, and surprises shrink.
Selecting the right shop
Price matters, but so does process. If you need Auto Body and Collision Repair Services and you are evaluating options, look at a few concrete markers:
- Factory certifications for your make where possible, or proof of current OEM procedure access, welding certifications, and ADAS training.
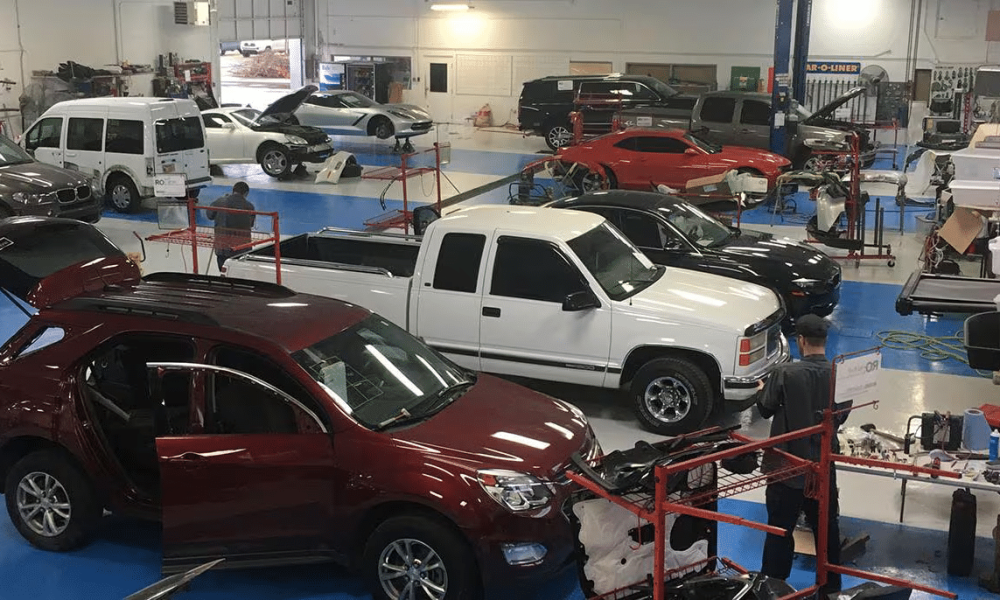
- A clean, organized facility with a proper spray booth, dedicated aluminum area if they advertise aluminum work, and modern measuring equipment.
That is the second and final list, kept short on purpose. Ask for a tour. You learn more in five minutes walking a shop than in an hour of phone calls.
Timelines, rentals, and realistic expectations
A straightforward fender and bumper blend might be three to five business days if parts are on hand. Add structural pulls and calibrations and you are into 10 to 15. Mix in backordered parts or supplements from hidden damage and it stretches. Rentals add pressure, since insurers often cap daily amounts and durations. If your vehicle has rare paint variants or complex sensors, build slack into your schedule. I would rather promise two weeks and deliver in nine days than rush, miss a calibration, and hand you a problem wrapped in a shine.
What you can do as the owner
You are not just a bystander. Keep maintenance up so pre-existing issues do not confuse diagnostics. Remove personal items before drop-off, especially toll tags and transponders that can interfere with calibration spaces. Provide both keys. Many cars will not complete module programming or window indexing without the second key present. If you have dashcam footage of the incident, share it. It can settle insurer disputes over point of impact and speed.
When you pick up the car, bring a short checklist: panel gaps, door and hood closing effort, headlamp alignment at night on a flat wall, no warning lights after a short drive, washer fluid and wipers functioning, and that ADAS features behave normally. If something feels off, speak up calmly and immediately. Good shops stand behind their work.
The human factor
Collision repair is technical, but it is also personal. I still remember a customer who brought in a minivan with a crunched rear quarter a week before a long-planned family road trip. We juggled the schedule, pulled a long evening in the booth, and met them at 7 a.m. the day of departure to hand off the keys. The kids had named the van. They were beaming. Those moments stay with you. They are also why I resist shortcuts. That family will not think about panel bond line thickness or target board placement, but they will notice if the tailgate leaks or the blind-spot monitor ghosts an alert on the highway.
The best auto body and collision repair is invisible. Your car drives straight, the paint matches, the electronics behave, and you forget the accident every time you turn the key. Getting there takes craftsmanship, standards, and a willingness to slow down for the details that do not show up on a glossy estimate. Choose a shop that treats those details as non-negotiable. Whether it is a fender bender or a full restoration, that mindset is what brings your car back from damaged to right.