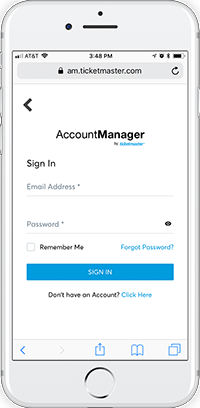
Log in using the email address and password associated with your account. If you do not have an account, follow the prompts at the link to create one.
STEP 3
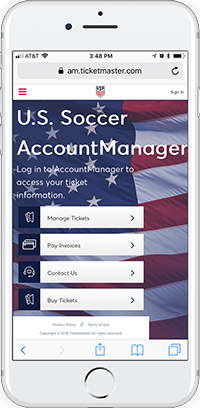
Quickly download, send, and/or sell tickets directly from AccountManager.
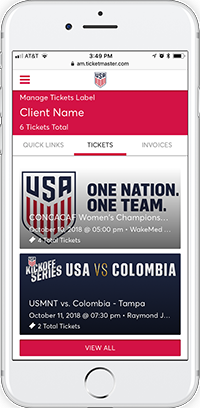
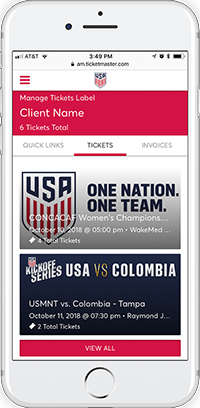
STEP 1
Your event(s) should appear upon login. Select the event you are looking for.
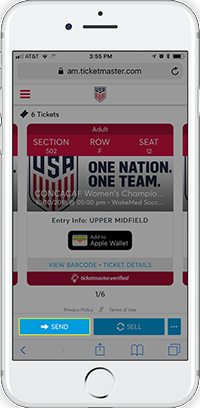
STEP 2
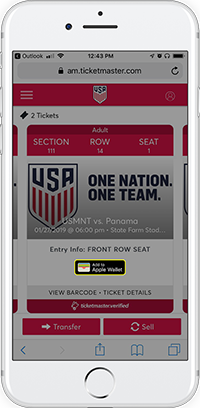
Your ticket information will appear. Swipe right to view additional tickets. Select View Barcode.
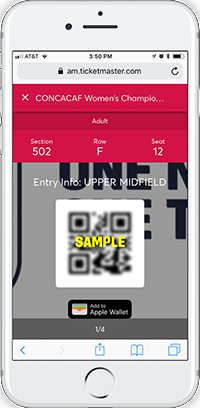
STEP 3
Your QR code (mobile barcode) should appear. Select Add to Apple Wallet, Add to Passbook, Save to Phone, take a screenshot, etc. to download to your phone.
STEP 1
Your event(s) should appear upon login. Select the event you are looking for.
STEP 2
Your ticket information will appear. Select send.
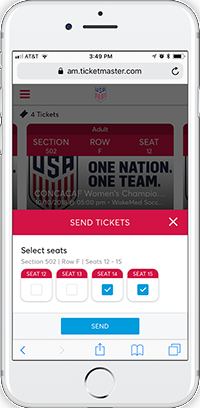
STEP 3
Select the seat(s) you would like to send and then select send.
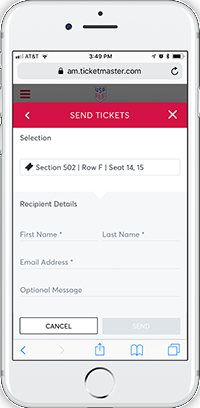
STEP 4
Enter the information of the ticket recipient and an optional message. Select send.
STEP 1
Your event(s) should appear upon login. Select the event you are looking for.
STEP 2
Your ticket information will appear. Select sell.
STEP 3
Select the seat(s) you would like to sell and then select continue.
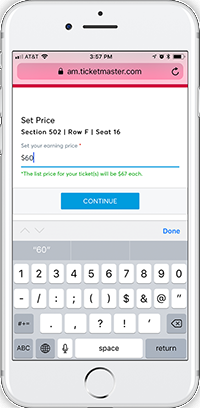
STEP 4
Set the price of the ticket(s). Select continue.
STEP 5
Update your account type and seller profile. Select continue.
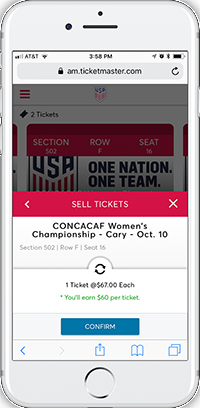
STEP 6
Confirm the ticket information and list for sale.
STEP 1
You will receive an email from Ticketmaster on behalf of the person sending you the tickets.
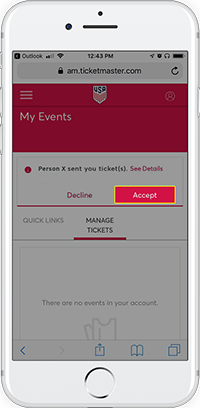
STEP 2
Select Accept Tickets.
STEP 3
You can also select "Decline the tickets' if you do not want them.
STEP 4
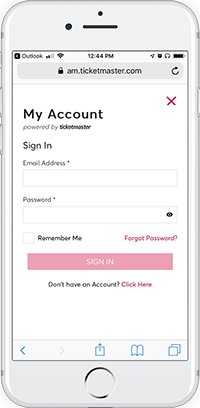
Sign in using the email address and password associated with your account. If you do not have an account, follow the prompts at the link to create one.
STEP 5
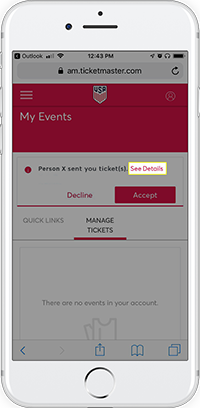
Select Accept.
STEP 6
You can also select See Details for more information on the tickets.
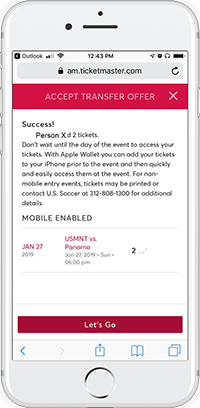
STEP 7
Success! You have accepted the transferred tickets. Select Let’s Go.
STEP 8
Select Add to Apple Wallet, Add to Google Pay, save to phone, take a screenshot, etc. to download to your phone.
STEP 9
You will receive an email from Ticketmaster confirming that you’ve accepted the tickets.