Tool Manager and Favorites palette
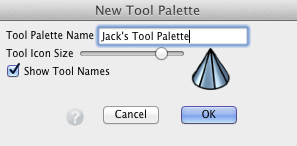
The New Tool Palette dialog.
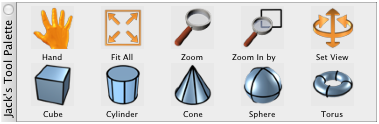
Custom tool palette containing a row of navigation
and a row of object creation tools .
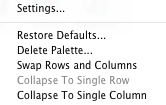
Context menu popping up
from tool palettes.
Selecting the Tool Manager command at the bottom of the Workspaces menu invokes the Tool Manager palette, which can be used to customize your tool palettes, create new palettes, and organize your favorite tools.
At the top of the palette there are two boxes labeled Categories and Tools. The former contains a list of labels corresponding to categories of tools. Clicking on a label highlights it and makes it the active category. The content of the active category is displayed in the box labeled Tools.
You can drag icons from the active category to an existing tool palette or you can create a new palette. You can do this by clicking on the New Tool Palette... button, which invokes the New Tool Palette dialog, where you can set the Tool Palette Name, the Tool Icon Size, and tell the program whether it should Show Tool Names or not.
Where you place the icons you drag determines the shape of the tool palette, as shown to the right. Note that Show Tool Names was on for this palette.
Placing the mouse cursor on a tool palette and right clicking invokes the context menu shown to the right. It contains a number of actions that allow you to manipulate the tool palette and its content. Settings... invokes the Tool Palette Settings dialog whose content is identical with the New Tool Palette dialog discussed earlier in this section. Restore Defaults... returns a palette to the way it was before you made changes.
The Upper Part of the Tool Manager palette.
Delete Palette..., Swap Rows And Columns, Collapse To Single Row, and Collapse To Single Column execute the respective acts.
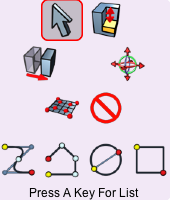
The Favorites palette.
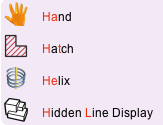
Tool List invoked after
entering H.
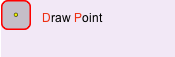
Tool list invoked after
entering DP.
Pressing a key command invokes the Favorites palette, centered at the location of the mouse cursor. By default, the key command is the space bar, but you can assign any key of your choice. The Favorites palette has two sections: On its upper part are tools you assign to it, which are typically the ones you use most frequently. On its lower part are the four most recently used tools that the program places automatically. You click on a tool to activate it and the palette disappears.
While the Favorites palette is still displayed, you can press any single key or combination of keys to invoke a list of tools whose name starts with the key(s) you pressed. Then you can click on one of the tools displayed to activate it and the list disappears. See examples to the right.
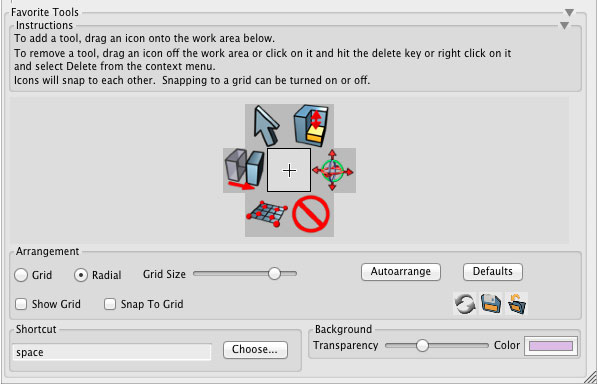
The lower part of the Tool Manager palette is labeled Favorite Tools and this where the content and shape of the Favorites palette can be set. Note that the palette also displays instructions on how the different operations can be applied.
You add more tools to the Favorites palette by dragging them from their regular tool palette or the upper part of the Tool Manager palette. You remove an already placed tool icon by simply dragging it off the palette area, or activating it and pressing the delete key, or by right clicking to invoke a context menu and choose Delete from it.
For the arrangement of the icons, you can choose from two shapes of arrangements: Grid or Radial. You may or may not Show Grid and Snap To Grid. You can control the size of the icons using the Grid Size sliding bar. Once settings have been changed, pressing Autoarrange will adjust the appearance of the Favorites palette to the new conditions. Default will return you to the original default appearance.
At the very low end of the palette there are means for reassigning the Shortcut key and for adjusting the Transparency and Color of the Background of the Favorites palette.